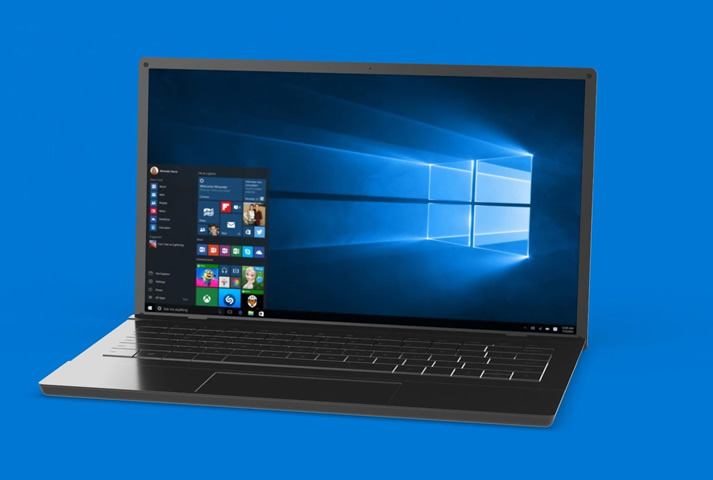
Windows 10 Upgrade: The Manual Method Part 1
Windows 10 has been out for several weeks now and while many people have upgraded to the new Operating System, there are just as many or more choosing to wait. There have been users that have had issues with upgrading. Most of those people have been Windows 7 users, at least from those we’ve spoken to and heard about; it is usually when using the Get Windows 10 App where they’ve had issues.
As a result many Windows 7 users are choosing the Manual upgrade route when they do upgrade. If you are thinking about upgrading via the manual upgrade here are some tips to make life a little easier and help you prepare before you upgrade.
It’s All About Preparation
This method can be time consuming, but it is not as difficult as one would think. However, some of this work can be done over the course of a few days when you have spare time. If you do choose to do this all at once, set aside a few hours and be prepared. Preparation is very important when using this method.
Before you install Windows 10
Using this method you’ll want to have a few items handy to make the process a bit easier. Here is what you’ll need to prepare for upgrading your system:
- 2 USB Flash Drives:
- 1 For Windows 10 ISO image (at least a 4G Flash drive is recommended)
- 1 For third party drivers
- External Hard Drive or several DVDs This is for creating a System Image Back-Up of your current configuration.
- 1 DVD to create a System Repair Disk
In our previous post we gave you a couple of tasks to do before you begin the upgrade process, you can find those here, Windows 10: To Upgrade or Not?
Back-Up Your Current System
Make a System Image Back-Up and System Repair Disk. If you have an external Hard Drive you want to use it for the System Image Back-Up. Make sure there is nothing else on the drive. This will take some time, for large systems you can start it late at night and let it run until the morning.
Use a blank DVD to create the System Repair Disk. This will allow you to restore your system, should anything happen, to its original state using the Disk Image Back-Up you made.
Check Your Drivers
These are the drivers for your video, audio and network cards. If you do end up having issues after upgrading, these are common culprits. So it is best to confirm exactly what devices are controlling these aspects.
Download Third Party Drivers if Needed
 These are the drivers for your video and audio cards. If you do end up having issues after upgrading, these are common culprits. It is a good idea to download these beforehand and put them on a Flash Drive in case something goes wrong with them during or after the upgrade. You DO NOT want to use the Auto-Detect/Find feature on these sites. Instead you want to be able to download them manually and copy them to one of the USB Flash Drives for later.
Download Windows 10
 When you have done the above step it’s time to download the Media Creation Tool so you can start the upgrade.
Make sure you know if you have 32Bit or 64Bit version of Windows. If you’re not sure, read our Windows 10: To Upgrade or Not? to find out which one you’re running.
Downloading and running the Windows 10 Media Creation Tool takes about 30-45 minutes. We recommend using a USB Flash Drive of 4G or more. When it completes you’ll be able to upgrade your system to Windows 10, which takes about 2-3 hours.
Go to the WINDOWS 10 DOWNLOAD PAGE
Are You Ready?
The Next Tech Support Tuesday we’ll take you through some of the elements of the actual upgrade process you may want to customize for privacy, security and your own sanity.


Tech Support Tuesdays - Windows 10 Upgrade: The Manual Method Part 2 - Phoenix Consulting Corp.
September 1, 2015 @ 11:43 am
[…] you’re thinking about going this route please read our previous post, Windows 10: The Manual Method Part 1 →, before you start this part of the upgrade. It will make you life infinitely […]